The Viral No-Bake Peanut Butter Chocolate Bars (Reese’s Hack!)
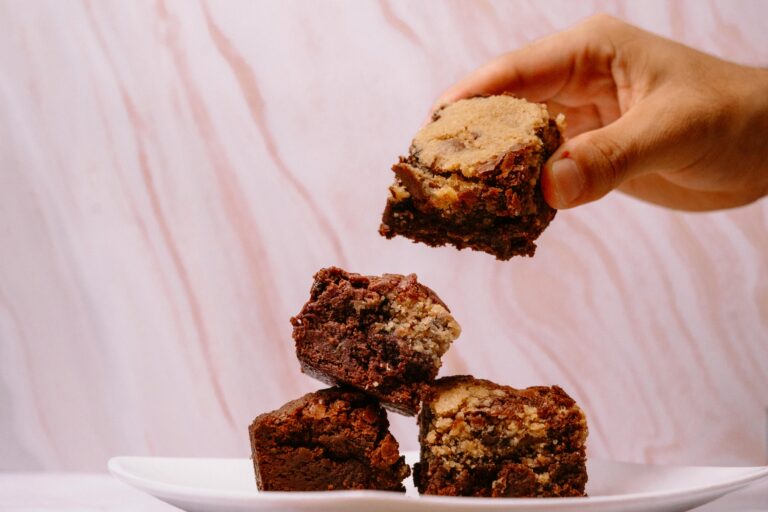
Craving a Reese’s Peanut Butter Cup but want something even better and homemade? These viral No-Bake Peanut Butter Chocolate Bars are going to be your new sweet obsession.
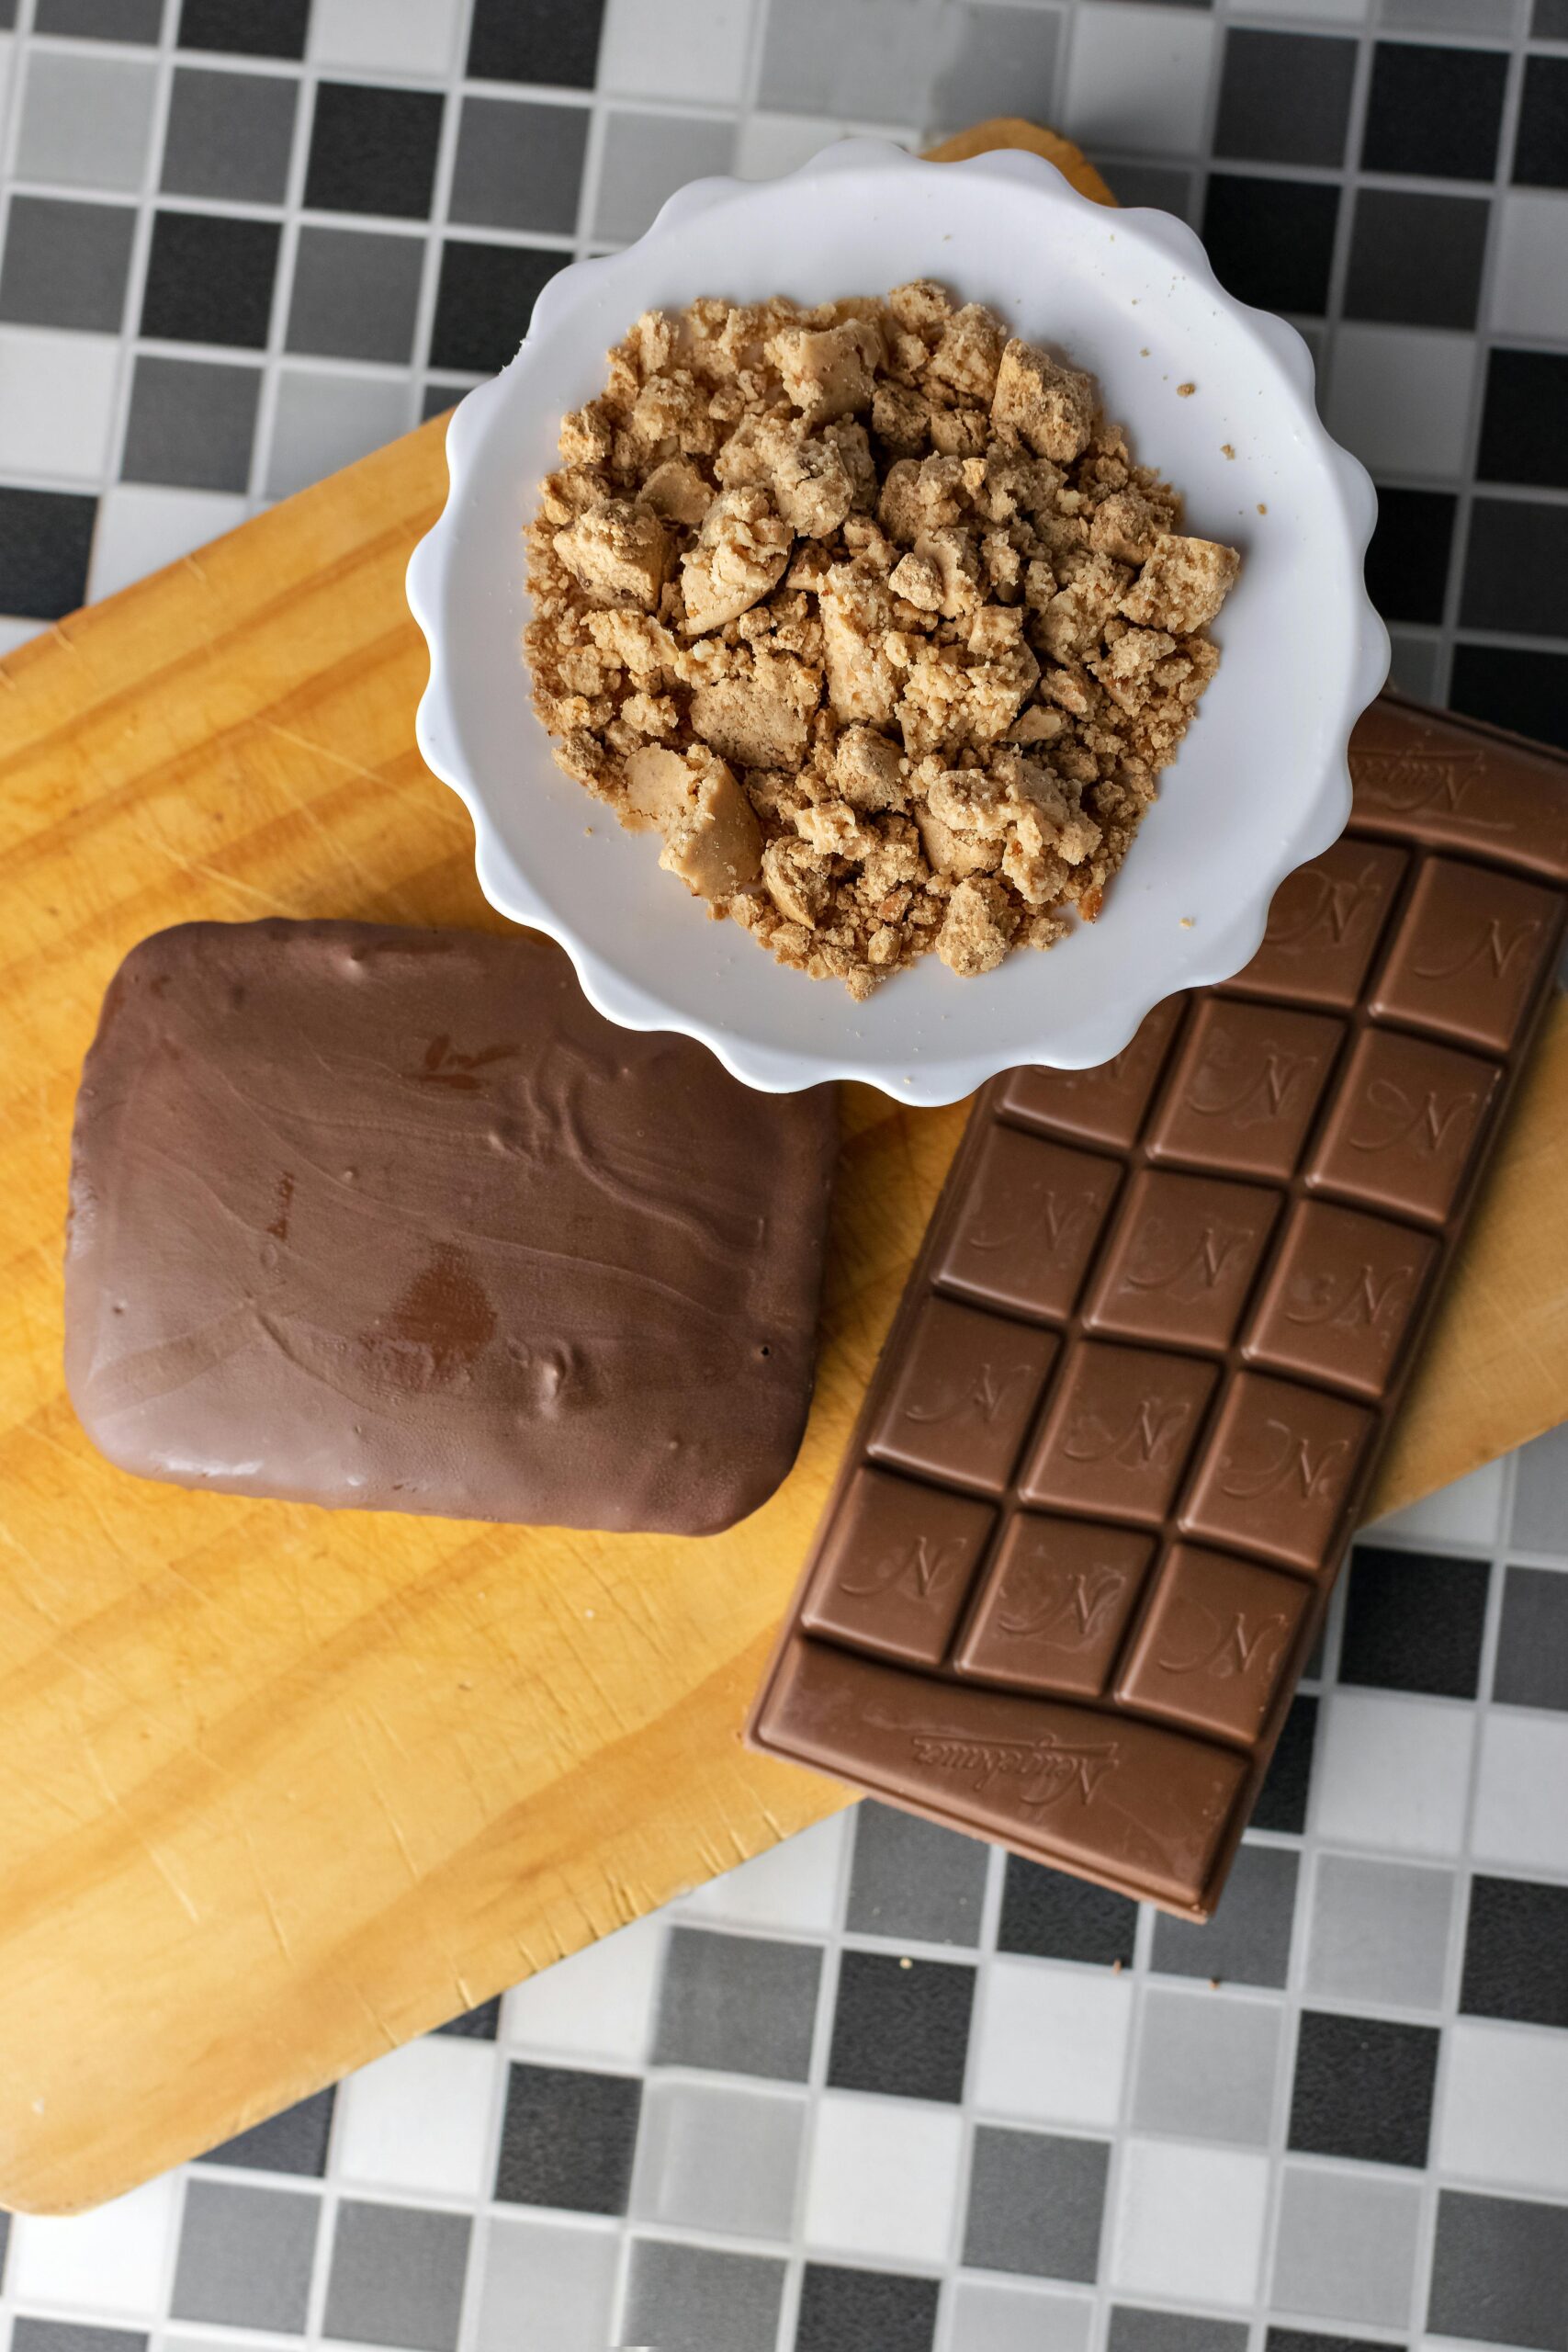
Trending heavily on Pinterest, this stupidly easy dessert tastes like a million bucks but requires absolutely zero baking. With a thick, sweet graham cracker and peanut butter base, topped with a thick layer of rich, silky chocolate, these 5-ingredient bars are the ultimate lazy dessert that looks and tastes incredibly fancy.
Why This Recipe is a Kitchen Staple
- Perfectly Balanced: The saltiness of the peanut butter perfectly cuts through the sweetness of the chocolate.
- Prep in 10 Minutes: Seriously, you spend more time looking for a pan than actually making the recipe.
- Crowd Pleaser: I’ve never met someone who didn’t ask for the recipe after the first bite.
Ingredients You Need
- Graham Cracker Crumbs: 1 ½ cups (You can crush them yourself or buy them pre-crushed).
- Powdered Sugar: 1 cup (adds that signature fudge-like texture).
- Creamy Peanut Butter: 1 cup (plus 2 extra tablespoons for the glossy chocolate topping).
- Unsalted Butter: ½ cup, melted.
- Semi-Sweet Chocolate Chips: 1 ½ cups.
How to Make It (My Step-by-Step Method)
- The Peanut Butter Base: In a large bowl, mix together the graham cracker crumbs, powdered sugar, 1 cup of creamy peanut butter, and the melted butter. Stir until it forms a thick, sandy, yet cohesive dough.
- Press it Down: Line an 8×8 inch baking pan with parchment paper. Pour the peanut butter dough into the pan and press it down firmly into an even, flat layer. Use the bottom of a glass to get it perfectly smooth!
- Melt the Chocolate: In a microwave-safe bowl, add the chocolate chips and the remaining 2 tablespoons of peanut butter. Microwave in 30-second intervals, stirring well between each, until it’s completely melted, glossy, and smooth.
- The Glossy Topping: Pour the melted chocolate mixture directly over the peanut butter base. Use a spatula to spread it into an even, beautiful layer.
- Chill and Serve: Place the pan in the fridge for at least 1-2 hours until the chocolate is completely set. Pull it out using the parchment paper edges, slice it into aesthetic little squares, and enjoy your ridiculously easy masterpiece!
The “Science” of the Perfect Bar: Why Graham Crackers Matter
You might be wondering: why use graham crackers instead of just cookies? It’s all about the chemistry of the base. Graham crackers have a distinct, slightly toasted flavor and a unique protein structure that, when mixed with melted butter and powdered sugar, creates a “fudge” that isn’t too oily or too dry. If you use just flour or regular biscuits, you lose that signature “American-style” bar texture that makes this recipe so viral.
Advanced Customization: How to Make It Your Own
While the classic version is 10/10, here is how you can level it up:
- The “Loaded” Version: Fold in some mini marshmallows or toasted coconut flakes into the peanut butter base. It adds a “S’mores” vibe that kids absolutely love.
- The Adult Version: If you’re making this for a party, sprinkle a little bit of espresso powder into the chocolate topping. The bitterness of the coffee perfectly balances the sweetness of the peanut butter, making it taste like a high-end gourmet bar.
- Texture Variations: If you prefer a lighter bar, you can substitute the graham crackers with crushed Rice Krispies. It makes the bars lighter and airier.
Troubleshooting: Why Didn’t It Set?
I’ve had readers ask me why their bars are still soft after 2 hours. Here is how to diagnose the issue:
- The Butter Trap: Did you use melted butter or softened butter? The butter must be fully melted. If it’s just softened, it won’t bind the graham cracker crumbs correctly.
- The Sugar Humidity: If you live in a very humid environment, powdered sugar can absorb moisture. If your base looks too “wet,” don’t be afraid to add an extra tablespoon or two of powdered sugar until it feels like play-dough.
- The Chilling Time: Don’t rush the fridge phase. The butter needs to solidify completely to hold the bar together. If you’re in a hurry, 30 minutes in the freezer is better than 1 hour in the fridge.
Frequently Asked Questions (FAQs)
- Can I use almond butter instead of peanut butter? Yes, but almond butter is naturally thinner. If you use it, you will definitely need an extra 1/4 cup of graham cracker crumbs to get the right thickness.
- Is this recipe freezer-safe? Yes, it freezes incredibly well! In fact, some people prefer eating them straight from the freezer for a “snappy” texture. Wrap them tightly so they don’t pick up “freezer burn” flavors.
- Can I make these vegan? Absolutely! Just use vegan butter and ensure your chocolate chips are dairy-free.
- Do I have to use powdered sugar? Unfortunately, yes. Granulated sugar will make your bars feel “gritty” and will not hold the structure together.
The “Hostess” Tips: How to Serve Like a Pro
If you are hosting a dinner party, presentation is everything.
- The Size Matters: Don’t cut these too big! Because they are so rich, smaller 1-inch squares are much more elegant.
- The Garnish: A tiny dollop of peanut butter whipped cream or a dusting of cocoa powder on the plate makes these look like they came from a French patisserie.
- The Temperature: Serve them cool, straight from the fridge. They lose their “snap” if they sit out at room temperature for more than 30 minutes.
Final Verdict
These bars are my number one recommendation for beginner bakers. They are foolproof, decadent, and honestly dangerous to have in the fridge because you won’t be able to stop at one!
If you loved this Reese’s-inspired treat, you need to check out my [Oreo Truffles] recipe next—another no-bake miracle!